Fourteen days out: confirm the contract, load in window, and booth number
The countdown to show day starts with paperwork and logistics. Before you even glance at the packing list, confirm with the organizer that your exhibitor contract is signed and received. If the event uses an online portal, double check that all required fields are submitted. Some shows may reject incomplete entries at the last minute, leaving you without a booth.
Next, verify your assigned booth number. Do not assume it will match your first choice from the application. Show layouts shift with cancellations and waitlist moves. A wrong booth number can mean hauling gear to the opposite end of the fairgrounds. Find your precise location on the current map and note any quirks: nearby power sources, proximity to food vendors, or shade from permanent structures.
Finally, lock in your load in window. Most craft fairs give each vendor a specific arrival time to minimize congestion. Missing your slot can mean a long wait or a forced rush. Make sure you know where to park for unloading, how close you can get to your space, and the process for re-parking your vehicle after setup. Print or save your check-in instructions: some venues require a QR code or physical pass.
Keep reading: Juried Art Festivals vs Open Craft Fairs vs Holiday Markets
The certificate of insurance and naming the organizer as additional insured
Many events require proof of liability insurance. Start this process early: some policies take days to update. First, check your current coverage. If you operate under a business policy, you likely have general liability, but not always the right endorsements for special events. Ask your agent if single-day or multi-event riders are needed.
Organizers almost always require their name and address listed as "additional insured" on your certificate. This is not a formality. The organizer needs legal coverage if an accident at your booth triggers a claim. Provide the exact spelling and address as directed in your vendor packet. An error can delay your approval.
Request the certificate in PDF format. Some organizers accept digital copies, others want a hard copy at check-in. Keep a printed backup in your show bag, especially if you travel to events in different states. For one-day pop ups, some vendors use event-specific policies purchased online, but these still require organizer details and submission deadlines.
Don't forget your own risk: insurance covers not only slip and fall incidents but also claims of property damage you may cause during load in or load out. If your booth has flammable goods, check for product-specific exclusions.
Temporary seller permit and tax rate lookup for the venue
Every state handles sales tax differently. Some require a temporary seller permit for out-of-area vendors. Research the rules for your show's state and municipality. Many states offer online applications, but processing times vary. Submit early to avoid last-minute stress.
If you already have a resale certificate for your home state, verify whether it covers out-of-state events. Many jurisdictions require a specific permit for each locality. Some craft fairs host tax agents on site; others expect vendors to collect and remit sales tax themselves.
Look up the correct sales tax rate for the venue address. Don't assume it matches the city's base rate: special zones, stadiums, or temporary event venues often have unique surcharges. List the total rate clearly on your receipt pad or point of sale device to avoid confusion at checkout.
Bring documentation with you: some organizers conduct spot checks. If you sell at multiple shows in one trip, prepare a folder with permits and rate sheets for each location. If you sell high-value items, know the threshold for reporting requirements.
Keep reading: Booth Layout Mistakes That Keep Shoppers Out of Your Tent
Canopy weights, flame certificate, and fire lane clearance
Canopy and Weights
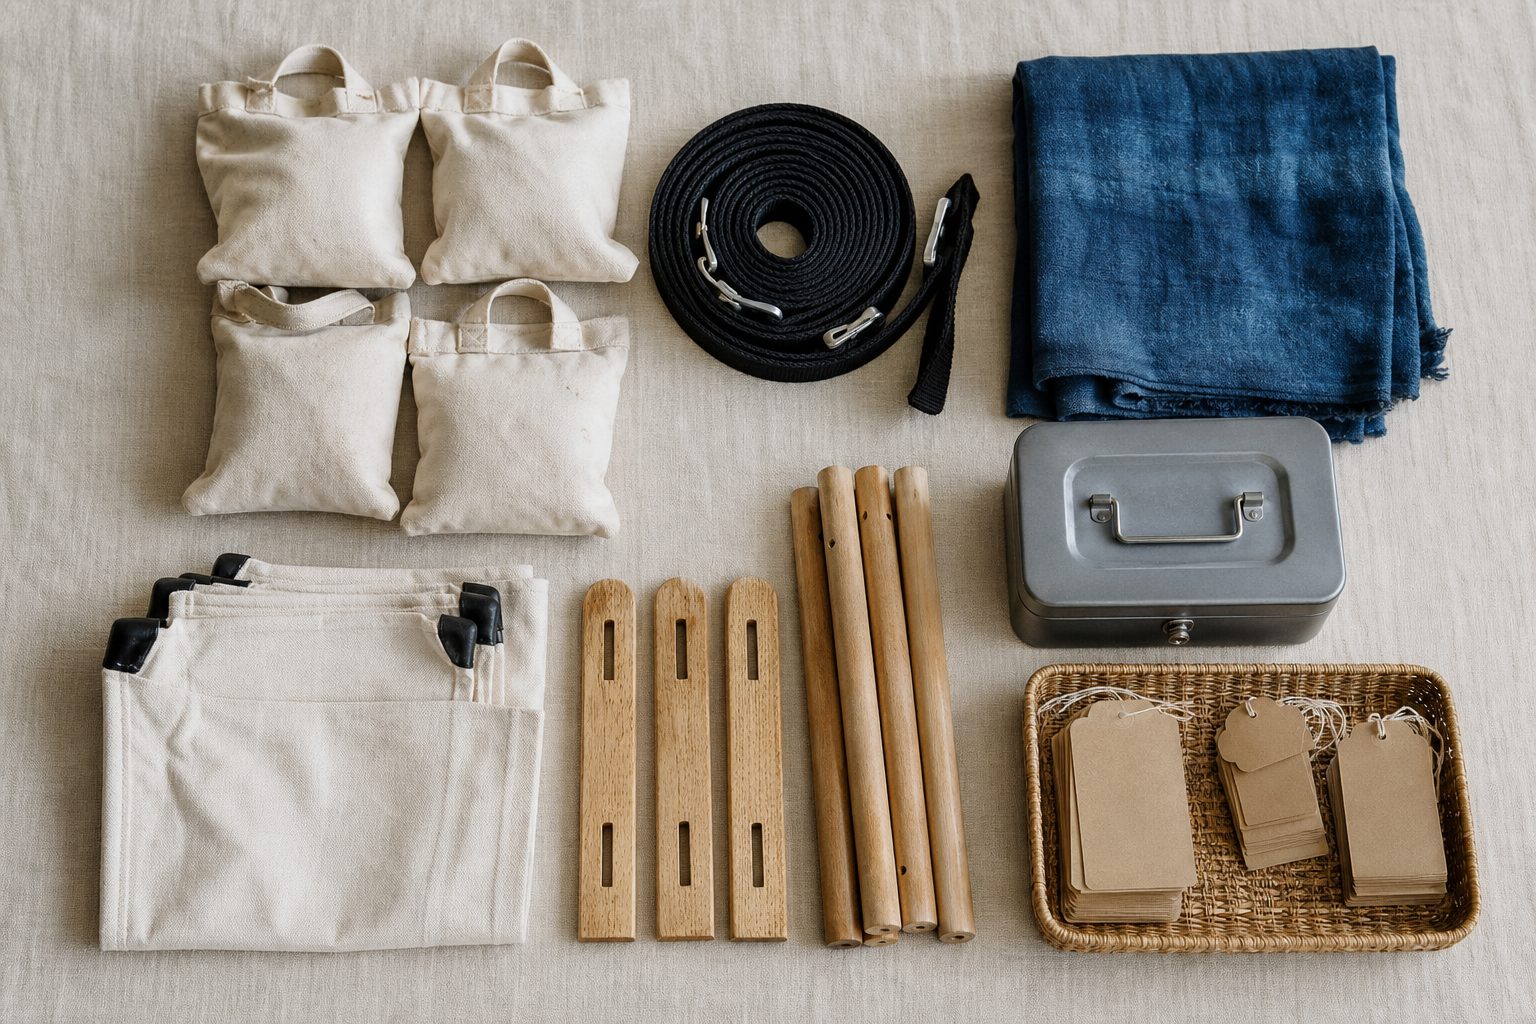
Pop up tents and canopies are standard at most outdoor fairs, but anchoring rules differ by event. Many shows require a minimum weight per leg, often specified in pounds. Water or sand weights work, but they must be secured to each leg and able to resist gusty winds. Bungee cords and zip ties are not always enough.
Double check your canopy's wind rating. Some events prohibit certain models after previous failures. If your tent is aging, inspect all hardware and fabric for wear. Bring spare parts: stakes, tie-downs, and duct tape for emergency repairs.
Flame Certificates
If you use sidewalls or banners, many fire marshals require proof of flame retardance. Flame certificates usually come with new canopies and can be downloaded from manufacturer sites. Laminate a copy for your event binder. For handmade banners or decor, treat fabrics with flame retardant spray and keep purchase receipts or labels.
Fire Lane and Clearance
Fire lanes are strictly enforced at most venues. Setup must allow a clear path for emergency vehicles and personnel. Mark the required distance from your booth to the lane on your site map. Measure your display footprint at home to ensure compliance. Don't block hydrants, building doors, or marked exits, even for a minute during load in.
The restock pull, built from the last run of this same show
Review Previous Sales
Inventory planning starts with a hard look at your last outing at this event, if you have one. What sold most? Which items ran out early? Pull last year's sales records, even if they are just notebook tallies or printed receipts. List each product, units sold, and what you had to tell customers was "sold out."
If this is your first time at this show, compare it to similar events in the same region or season. Consider the crowd size, income level, and interest in your product category. Look for clues in the organizer's social media or vendor group.
Build a Restock List
Once you know your high movers, build a restock list. For each SKU, note your starting quantity last time and how many you want to bring this round. If you have a product that was a hit at another fair but didn't make it to this one last year, bump up its stock. Factor in made-to-order items: some makers bring blanks and customize on site, but this needs its own prep.
Remember backup packaging and any product-specific display props. If you use a tracking tool, update your pull sheet with the new targets. Take this restock list into the studio and pull actual inventory, labeling show boxes by product type.
See how BoothInventory handles this for craft and maker commerce
Display kit, hand tools, and the repair bag
Your display is a sales tool, but it is also a maintenance headache. Make a master checklist of all tables, stands, shelves, banners, and lighting elements you need for this event. Lay them out at home, then pack them in the order you will unload.
Pack a set of hand tools for quick fixes. At minimum, bring a multi-bit screwdriver, pliers, a hammer, zip ties, scissors, and duct tape. If your booth includes battery-powered lighting, toss in spare batteries and a power strip. For jewelry and textiles, add needle and thread, glue, or wire.
The repair bag is your silent partner. Accidents can happen during setup or from customer handling. Include extra hooks, S-clips, Velcro dots, and display hardware. Label this bag and keep it under your table, not locked in the car. If something breaks on the first day, you want it fixed before the doors open.
Cash float, card reader, backup battery, and an offline payment plan
Cash Float
Even as more customers pay by card, cash sales still matter. Build a float with small bills and coins. A typical starting float for a weekend show is about a hundred dollars in fives and ones, plus quarters if you have items under ten dollars. Adjust for your expected volume and price points.
Use a lockbox or pouch you can keep on your person or secured out of sight. Count your float before the show, and note the starting amount for post-event reconciliation.
Card Reader and Power
Mobile card readers are a must. Test your device before the show, update the app, and bring all necessary cables. If your show is outdoors or in an older building, power outlets may be scarce. A backup battery pack can save you if your phone or tablet drains. Charge everything the night before.
Offline Payment Plan
Cell signal can fail when hundreds of vendors and buyers crowd into a fairground. Most payment apps have an offline mode, but you need to enable it ahead of time. Know how to queue transactions until you reconnect. For higher priced items, decide whether you are comfortable taking card payments offline, as there is a risk of declined cards when you sync later.
Prepare a simple backup plan for when nothing works: have a receipt book for IOUs, or set aside items until payment clears. Inform customers about any payment limitations before they commit to buy.
Load out plan and the post show count
Load Out Plan
The end of the event is as important as the start. Review the organizer's load out rules, including vehicle access and teardown windows. Some venues require you to pack up completely before bringing a vehicle onsite. Others allow staggered exits by row or booth number.
Assign roles if you have helpers: who folds tables, who packs display items, who double checks for lost goods. Have snacks and drinks ready, as teardown takes longer than you think. Mark all boxes and bins with your booth number and name, in case anything is left behind or misplaced in the rush.
Post Show Count
Before you leave, do a quick count of remaining inventory. Record what sold, what didn't, and any surprises. If you use inventory tracking software, update it on the spot while the details are fresh. For manual systems, use a tally sheet or notepad.
Compare your closing count to your starting restock list and cash float. This tells you not just what to make for your next show, but also which products are worth restocking. Document any booth repairs or display tweaks you want to make before your next event.
A solid post show count is the foundation of a profitable season. When you track inventory and sales by event, you can build smarter restock lists and compare which shows really pay off. Tools that handle per-event inventory tracking, restock pulls, and event-by-event profit help you focus on making and selling, not paperwork.