Building a table wall across the front instead of an open U
Many first-time and even seasoned craft vendors set up a long table at the front edge of their booth, stretching it from one side to the other. The entire display sits behind this barrier. At first glance, it feels logical: everything fits, the work is safe from reach, and you can stand behind your wares. But this table wall creates a psychological and physical divide between you and the customer.
Shoppers hesitate to cross what feels like a counter. They scan quickly, rarely lean in, and often keep moving. It's the same effect as a bakery with everything behind glass. People feel awkward lingering or asking questions. They cannot imagine themselves owning your work because they cannot step into your space.
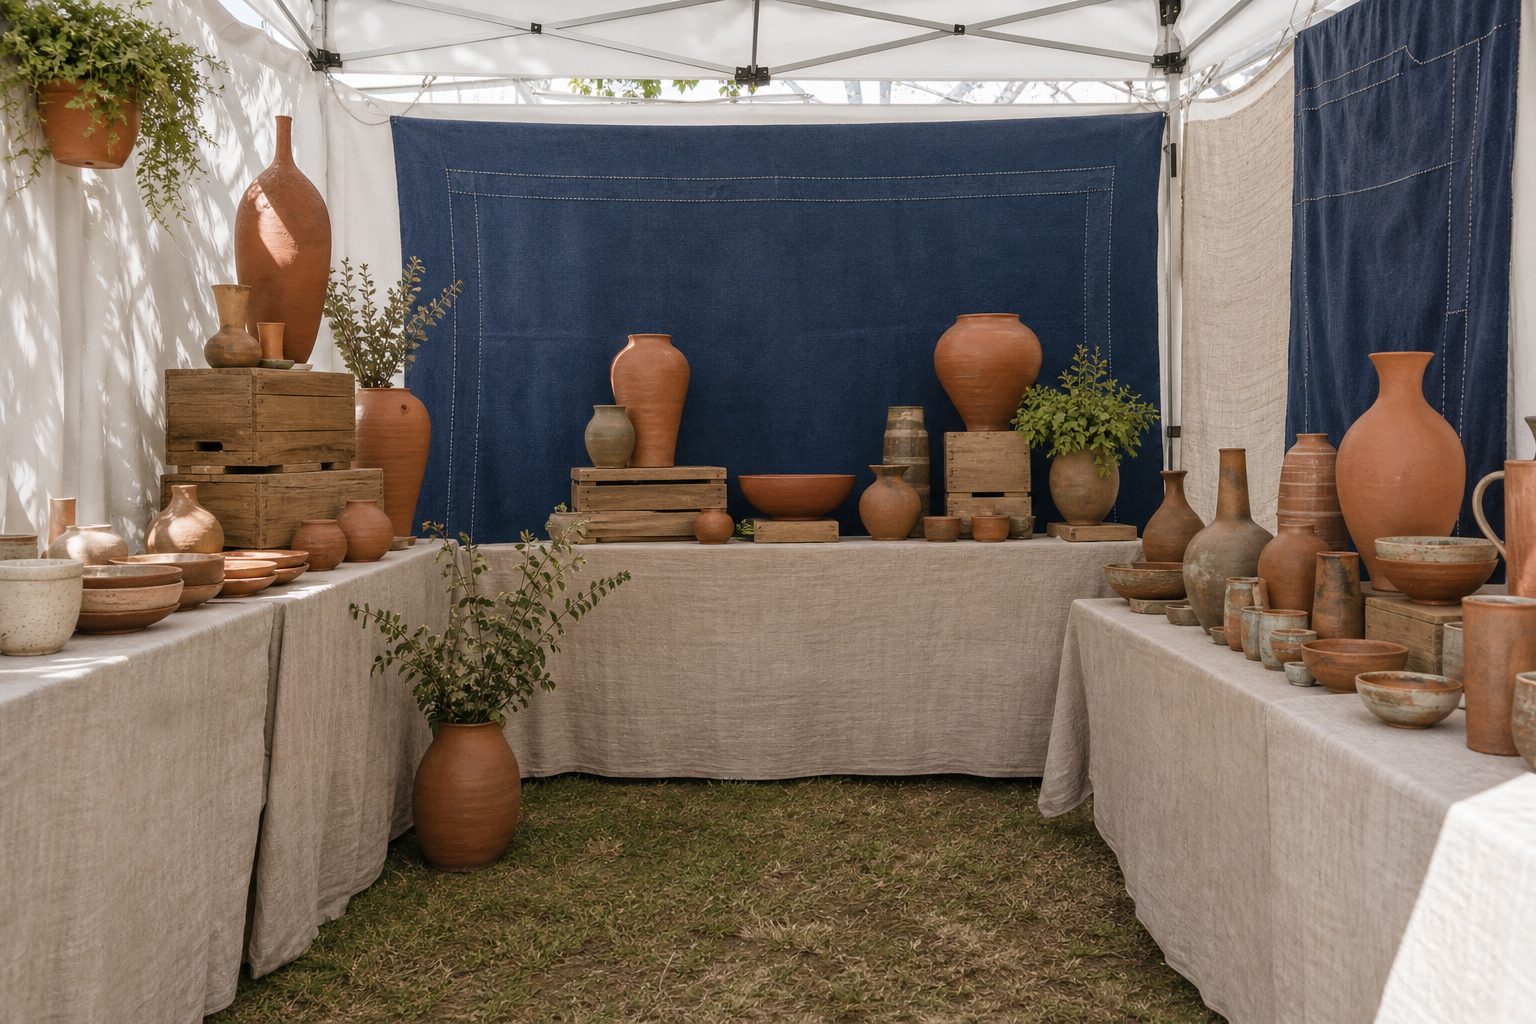
An open U or L layout invites people inside. Place tables or shelves along the sides and back, leaving the center open. This subtle change transforms your booth from a display case to a small shop. Now your products surround the customer, not the aisle. It also gives you the chance to engage without a barrier in the way.
Testing the U: How It Changes Traffic
When you use a U-shaped layout, foot traffic patterns shift. Many shoppers will step in as soon as they see an open path. With displays on three sides, more items are within reach. People stay longer, touch more, and are likelier to pick up multiple pieces. You can greet visitors from a welcoming spot inside the U rather than from behind a wall.
Keep reading: Tracking One Product Line Across a Six Show Season
Everything at table height and nothing at eye level
Another booth mistake is keeping every item flat on tables, with nothing rising above waist or chest height. When everything is low, most shoppers glance over the top and only see a sea of surfaces. Items get lost in the crowd, and your best pieces blend into the background. Visual interest drops. People miss what makes your work unique.
Think of a retail store window: striking displays always use vertical space. Eye-level shelves, tall risers, hanging racks, or grid walls draw attention from across the aisle. Placing a few key items where they catch the eye as someone walks by can double the chance they stop to browse.
Creating Levels and Layers
Use crates, boxes, or sturdy risers to stack products. Hang a banner or display a standout piece at the back wall at face height. Consider lightweight shelving that travels flat but stands tall. Rotate featured work up high so returning shoppers notice something new from a distance. When you display this way, your booth becomes visible over the heads of a crowd, not just at their feet.
Hiding the price and making shoppers ask
The quickest way to lose a sale is to make customers ask for the price. If a shopper has to hunt for a tag or ask you directly, most will simply put the item down. This feels awkward for them, especially in a busy market where they may not be ready to commit. People want to browse privately, compare, and make up their mind at their own pace.
Some makers worry visible prices cheapen the look or invite haggling. In reality, clear pricing shows confidence. It tells shoppers you value your work and have nothing to hide. It also speeds up the buying process and reduces confusion at checkout.
Best Practices for Pricing Displays
Use small, neat tags on each item, or create simple signs for groups of similar pieces. Chalkboards, tent cards, or professional printed labels all work. If you have items that vary by size or color, group them and display a price per category. Make sure the numbers are legible from a normal standing distance. If you offer bundles or show specials, highlight the savings plainly. The fewer questions on price, the more likely you will hear, "I'll take it."
Keep reading: Cashless Markets and Card Fees: What Makers Pay to Get Paid
One of everything instead of depth in your proven sellers
It is tempting to bring a wide sample of every product you make, especially if you have a large catalog. Some booths look like a showroom, with one of each bowl, pendant, or print neatly arranged. The problem is that this approach spreads your display thin and makes it hard for customers to see what is popular or available in quantity.
Shoppers are drawn to abundance. When they see multiples of an item, it signals that the product is a favorite and that they are not risking the last one. It also encourages impulse buys and gift shopping. If every item is a lone sample, people hesitate, thinking it may be the display piece or that there is no backup in stock.
Prioritizing Bread-and-Butter Items
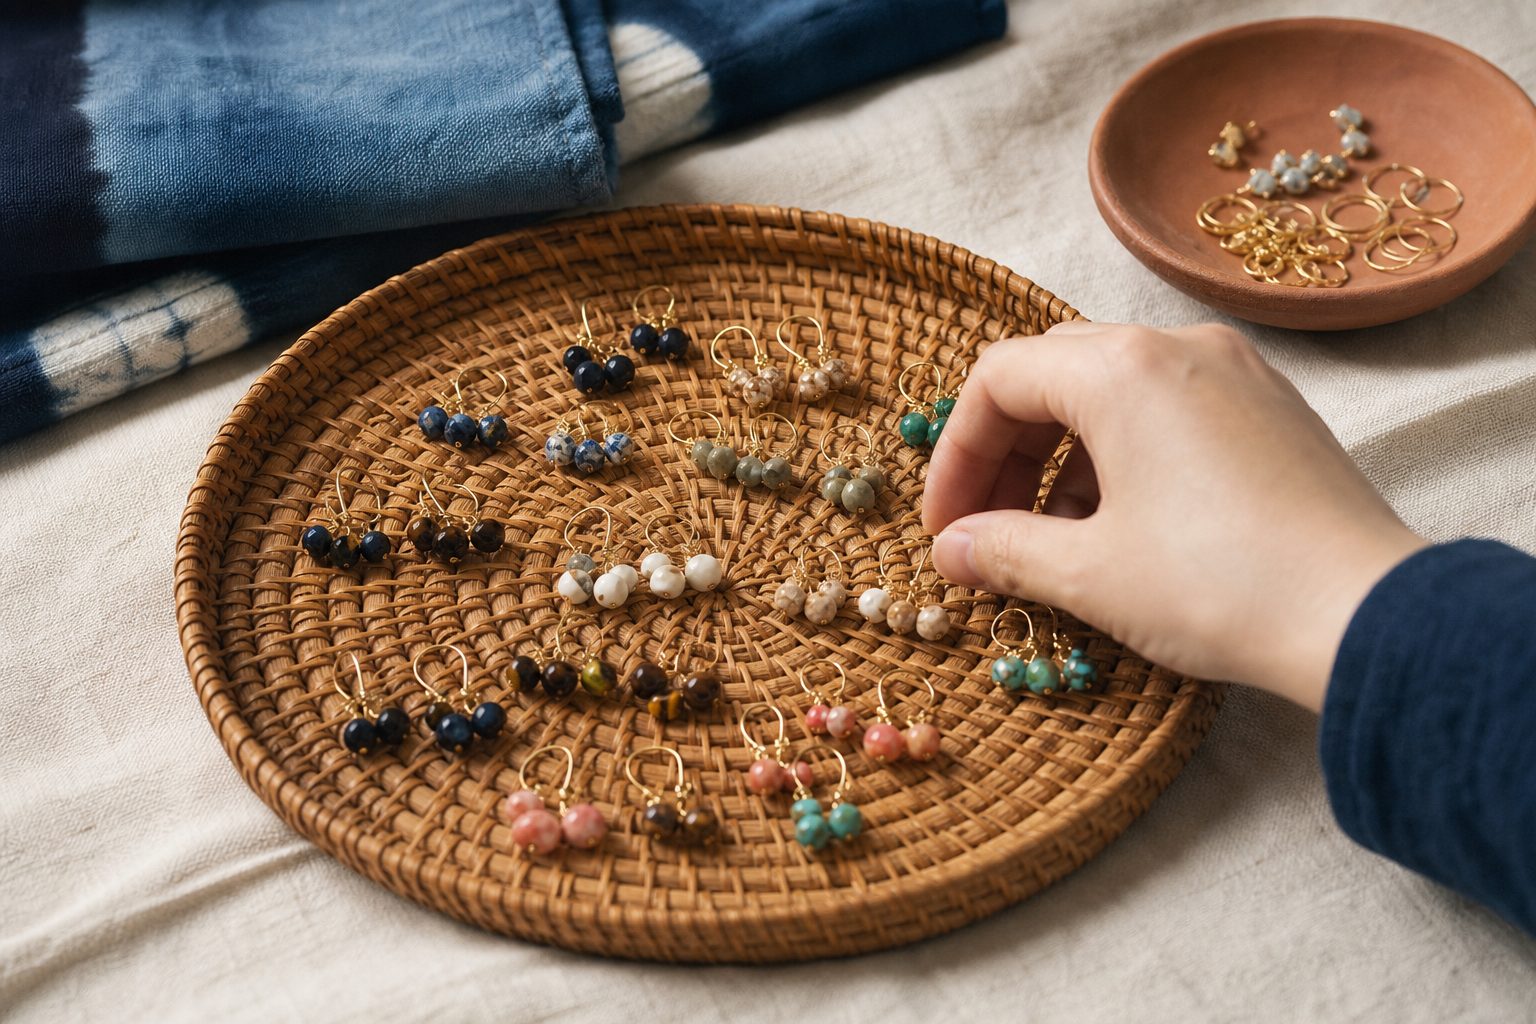
Track your bestsellers and bring deep inventory of those. Display several together, three or more of each variant when space allows. Create stacks, bowls, or grouped hangers for small items. For limited editions or larger pieces, keep a visible backup behind or beneath the table. When someone buys one, you can restock quickly, keeping the display full. This builds confidence and helps you move more volume at every event.
Putting the checkout where it blocks the entrance
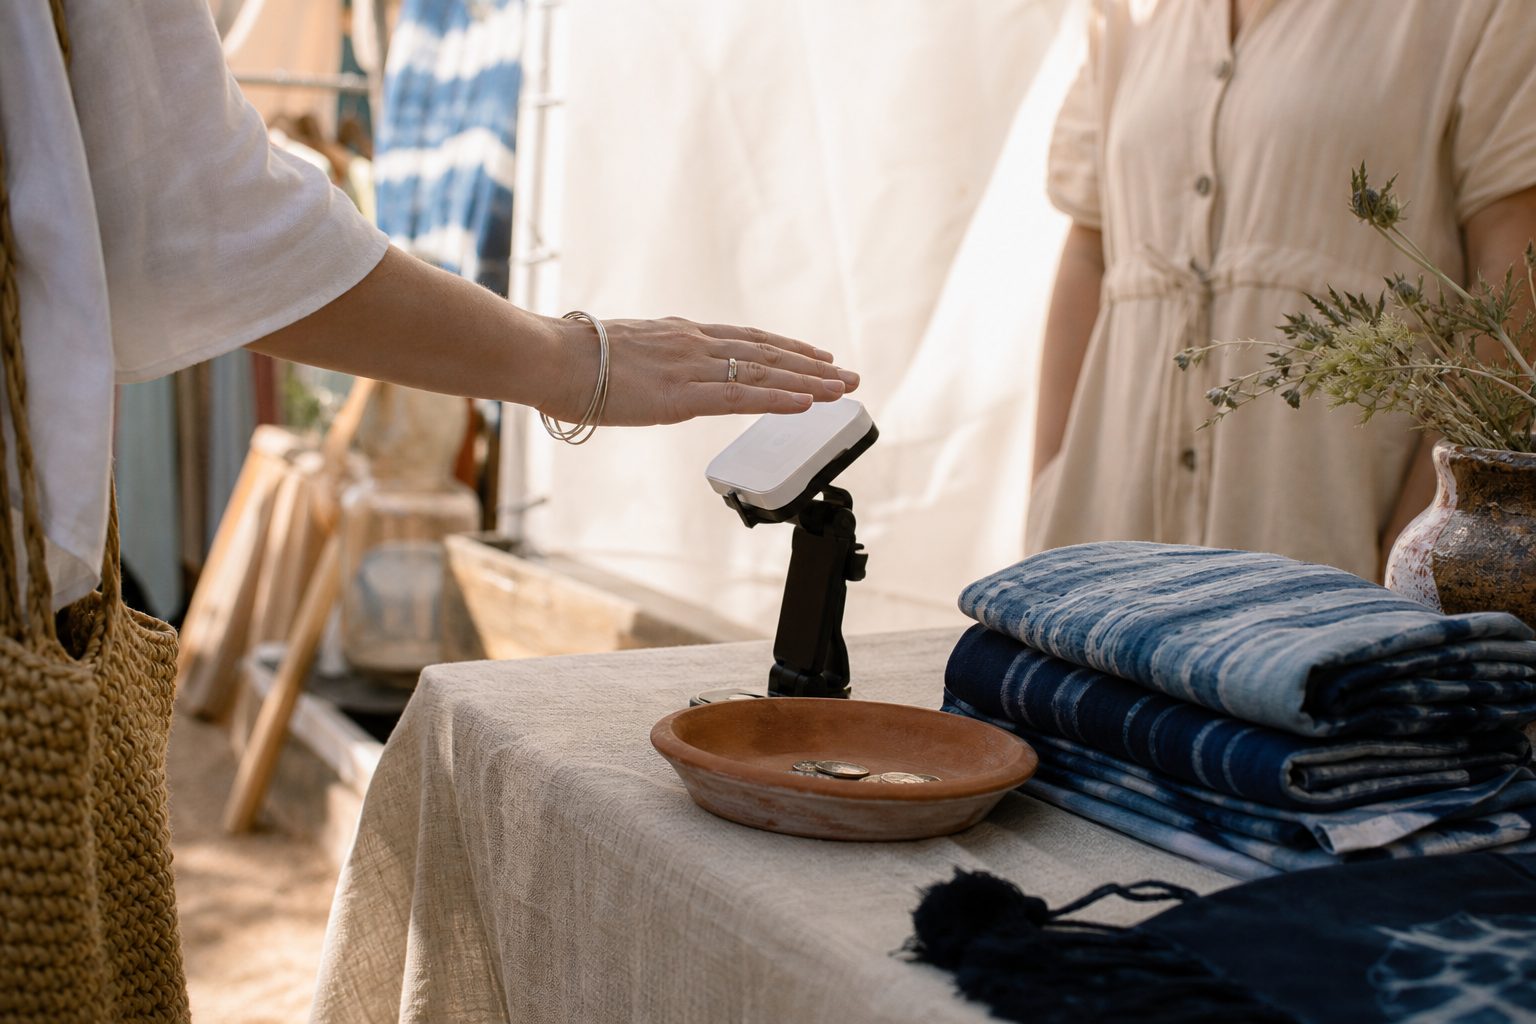
Some makers set up their cash box or square terminal on a table right at the booth entrance. This often seems like a convenient spot with easy access to power or a view of the crowd. But it creates a bottleneck. When a customer stops to pay, they block the path for new shoppers. People waiting to enter see a crowd and walk on by.
It also puts you in a defensive role, guarding the gate instead of welcoming people in. If there is a line, it spills outside, hiding your products and making your space look cramped.
Checkout Zones That Work
Set your checkout at the back or side of your booth, away from the main aisle. Use a small table, counter, or even a standing box. Keep supplies organized and easy to reach. This lets buyers pay in peace and gives you room to wrap, bag, or talk about care instructions. Shoppers browsing at the entrance are not blocked or rushed. The flow feels natural, and everyone gets attention.
See how BoothInventory handles this for craft and maker commerce
Selling from a chair behind the table
It is easy to sit behind the table, especially after a long setup or during slow spells. But selling while seated sends the wrong signal. You look less engaged, and shoppers feel like they are interrupting. Eye contact is harder, and your posture says, "I am waiting for you to leave."
Standing up, even if you lean on a stool or perch, changes the dynamic. You are at eye level, able to greet, answer questions, and hand items over the display. It is not about hard selling, it is about being present and approachable.
Staying Comfortable and Alert
Use supportive shoes, bring a tall stool for quick breaks, and keep water and snacks handy. If you need to sit, do so at the back or side, not right behind your wares. Rotate with a helper if possible. The goal is to be ready to interact at any moment. When you show energy and interest, shoppers respond. They stay longer and are more likely to buy.
No shade, no weights, and no plan for wind
Outdoor events come with weather challenges. Many first-timers arrive with a lightweight pop-up tent and nothing else. They forget to bring shade walls, tent weights, or any solution for sudden gusts. The result is a booth that overheats, flaps, or even takes flight in strong wind. Merchandise tumbles, displays shift, and shoppers scatter.
Heat and glare also drive people away. Without shade, your space can be ten degrees warmer than the aisle. Sun fades products and makes it hard to see details. If rain arrives, your setup must be ready in seconds, not minutes.
Weatherproofing Basics
- Use at least 20 pounds of weight per tent leg, secured to the frame, not just set on the ground.
- Bring sidewalls or shade cloths to block morning or afternoon sun. Adjust as the angle changes.
- Keep tarps or clear plastic ready to cover your work if it starts to drizzle.
- Test your setup at home in windy conditions. Secure displays with clips or bungee cords.
- Plan for electrical cords or battery power if fans are allowed. Ventilate safely.
The goal is to create a calm, comfortable shop inside, no matter the weather outside. This keeps shoppers browsing longer, and it protects your investment in every piece you bring.
Packing the same load for every show on the calendar
Many makers use a fixed packing list for every event, filling their car or trailer with the same bins and displays. This habit saves time but ignores the differences between venues, crowd size, and shopper preferences. What works at a holiday gift market may flop at a summer art fair. Some shows are heavy on impulse buyers, while others draw collectors looking for unique pieces.
Bringing too much slows setup, clutters your booth, and increases the risk of breakage. Bringing too little means you sell out of bestsellers early, leaving only slow movers on display. If you do not adapt your mix, you miss the chance to maximize sales and reduce the stress of packing and unpacking.
Adapting to the Event and Crowd
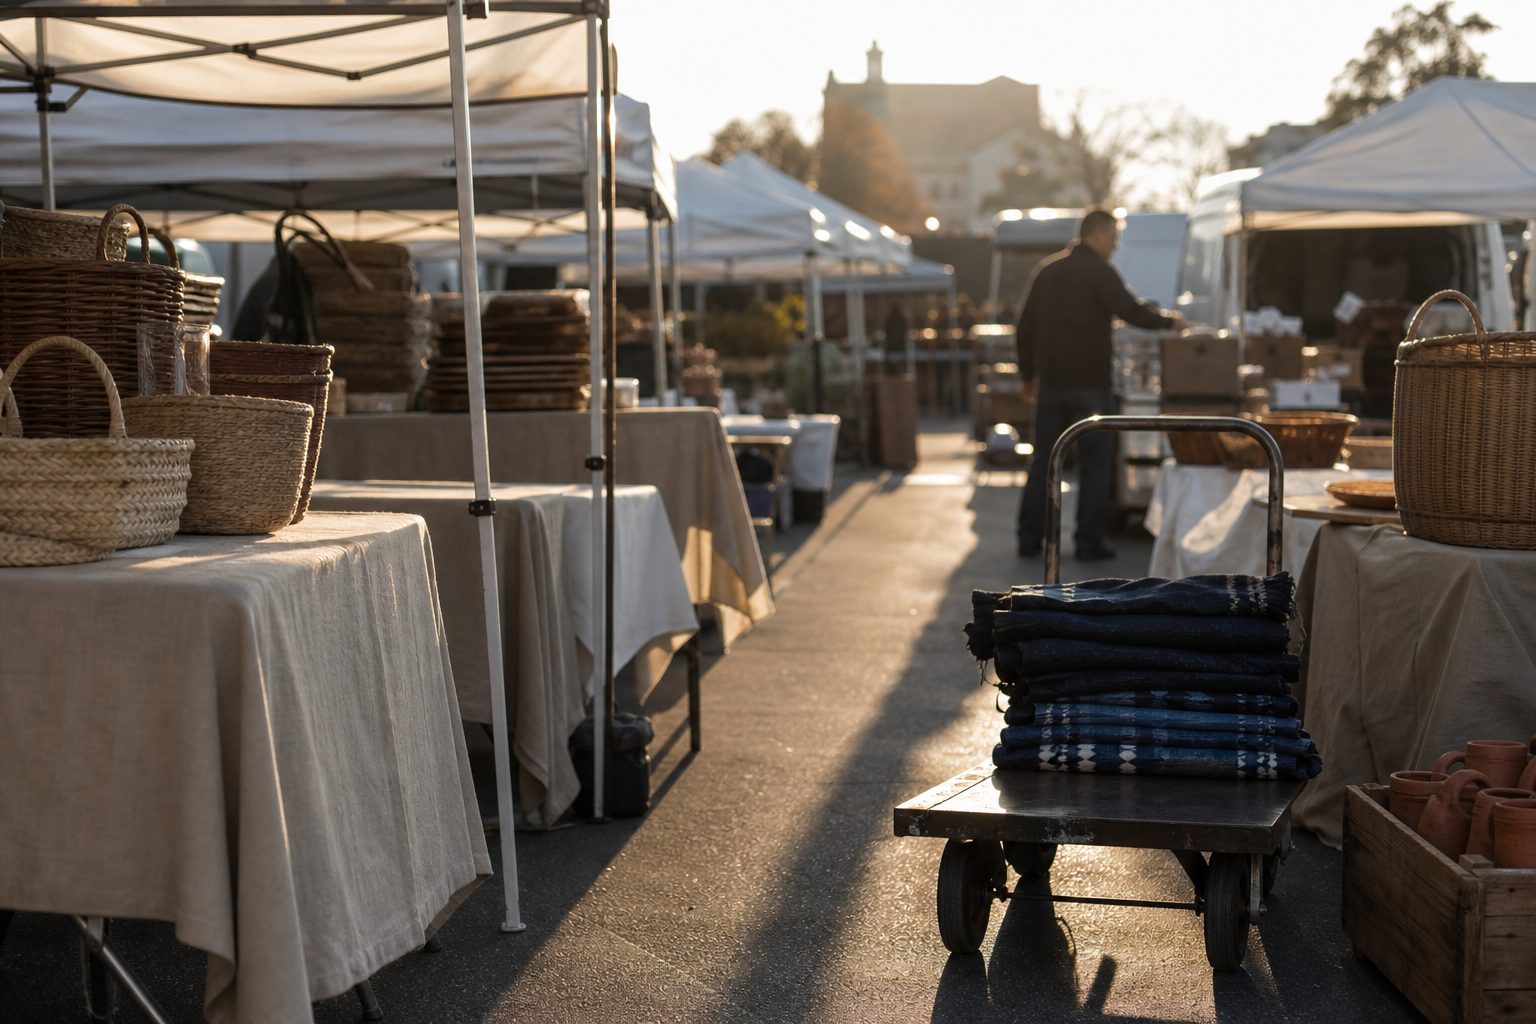
Before each show, review your sales from similar events. Identify which products sold most and which lagged behind. Adjust your load accordingly. For smaller booths, focus on proven sellers in depth. For high-traffic festivals, bring extra restock of quick buys. If a venue is upscale, lead with your premium line and bring simple, clean displays.
Keep a packing checklist that you update after every event. Note what you ran out of, what never left the box, and what display pieces worked best. This rolling record helps you fine-tune your setup and inventory for each stop on your calendar.
Using Tools to Track and Improve Your Booth
Changing your booth layout and inventory takes trial and error, but tracking what sells at each event will show you clear patterns. Many makers now use event-based tracking tools to record sales, restock needs, and booth profitability. These systems make it easy to compare shows and adjust for the next one, so your booth layout and product mix match each venue and audience.